In times of Christmas I often get asked such questions: “How do you process the dough? I can not manage it, it’s too sticky. Do you have a trick for this? How do you get such a sticky mass under control?”
For those who think it is trivial and unnecessary, I must say that we are talking here about dough very rich in honey. We are not talking about a dough containing only one or two tablespoons of honey.
To help especially the beginners between us I will not only give a description of how to work with dough but also add photos. Believe me that the work with real honey dough – which is very sticky – does not have to be a nightmare at all. Only you have to arm yourself with a little more patience.
Your motto is: The less you touch it, the easier you can work with it.
HOW I MAKE A HONEY DOUGH
- First I sieve the flour and the sugar in a large bowl. Then I add all the dry ingredients such as spices, baking powder or soda bicarbonate (or what the recipe describes), and also the lemon zest. Then I mix everything up well.
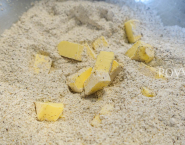
- Only now I get the fat out of the fridge and cut into cubes I add it to the dough.
- Now I press the fat into the flour mixture and “pulverize” it in it; which means that I push the pieces into each other’s hands until there is no more clot butter in the mass.
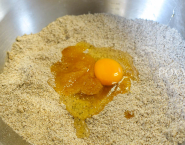
- Now I do the mass in the kitchen robot and I add the honey and the eggs to it.
- With the bread hook I let the machine do the job – not at a high speed; only as with bread dough. Only before the end I let the machine run faster.
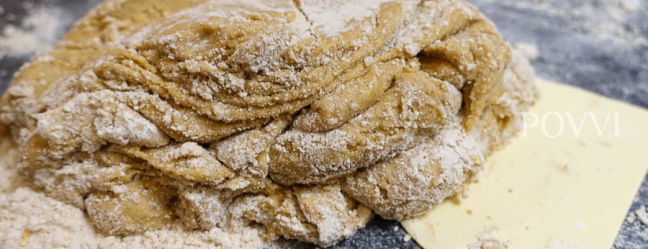
- The dough is now made for 90% but not yet completely finished – you can still see the unprocessed flour. This is the moment when I bring it to the workplace.
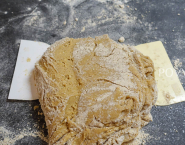
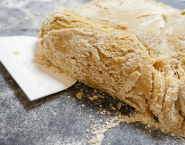
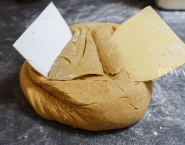
- Now comes my “trick”: NOT WITH HANDS, but with the help of two spatulas (scrapers) I “knead” the dough until it is nicely homogeneous (see photo below). The hands make the dough unnecessarily hot and that is why it sticks so hard during processing. I know that this is “just baking”, but here too the laws of physics apply. And as we know: warmed fat and honey melt and glues easier than chilled. Of course I do a little flour here and there with the dough while I work there.
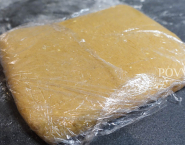
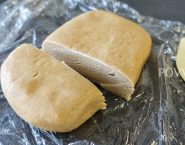
Eventually I use the spatulas on the kitchen foil to wrap it in and so the dough goes into the fridge and develop taste. The dough must rest for at least one hour, best one night. But if you leave it there for five days, that does not hurt either – honey is a natural preservative so it certainly will not be bad.
HOW DO I MAKE COOKIES OF THE DOUGH
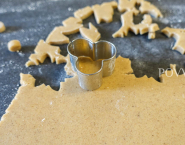
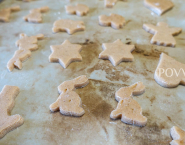
- I NEVER process the entire dough. First I cut only 1/3 of the dough and only this piece I roll to a thickness of 4-5 mm. Then I cut cookies from them using the cutters. The cooled dough is very easy to process and does not have to be too much floured. I also regularly “dip” the cutters into the flower so that the dough will not stick to it. Until the first piece of dough is not processed, I do not get another from the refrigerator.
- I also put the cookies on the baking sheet using the spatulas (scrapers). DON’T use your hands to prevent the dough from heating up.
- Then I spread them with egg brush and if necessary decorate with mini-confetti. The rule is: first egg brush after confetti.
- After baking I wash the cookie cutters with a detergent and the brush, but I do not dry them. I only transfer them on a clean baking sheet and place them in a hot, but just turned off oven, and the remaining heat will dry my cookie cutters in the worst accessible places for me.




Leave a Reply