

Original cadeau for my colleague. Delicious, natural, high fiber and healthy. For gluten-free version use gluten-free flour.
Preparation time 50 minutes .. Rising 50-70 + 50 minutes .. Baking 25 – 35 minutes
INGREDIENTS .. 1 pcs
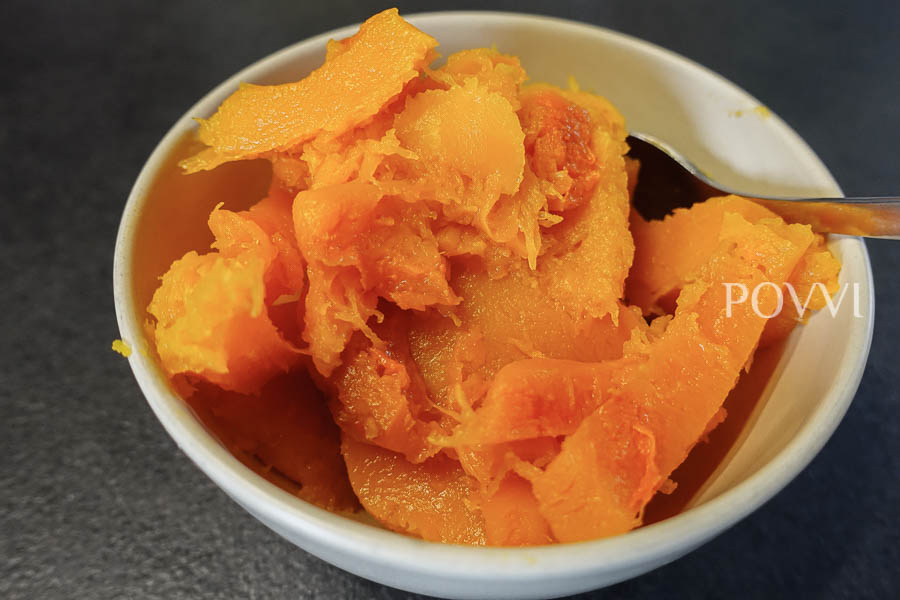
- 260 g butternut squash puree
- 240 ml milk – lukewarm
- 85 gram unsalted butter – melted
- 1 medium egg
- 80 g sugar
- 1 tsp salt
- 1 bag of instant yeast
- 700 g all-purpose flour
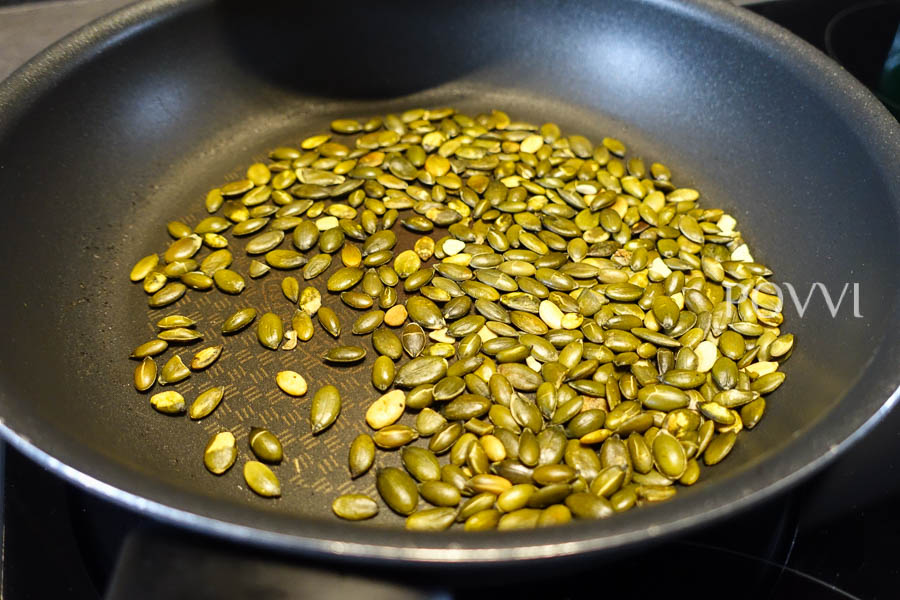
- handful of roasted pumpkin seeds
BEREIDING
After the great success with small pumpkin buns I decided to make another big version of it.
Peel the pumpkin, cut and remove all seeds, then slice into small pieces. Place the pumpkin slices onto a tray lined with aluminum foil. Cover the tray completely with another layer of aluminum foil. Bake at 446˚F in about 30 – 40 minutes until the pumpkin slices are tender and can be easily mashed with a fork. Take the tray out; mash the pumpkin or blend it in a blender until it becomes smooth puree. Baking time will vary depending on type and ripeness of the pumpkin. You can also choose to steam the pumpkin but baking will give out more flavour
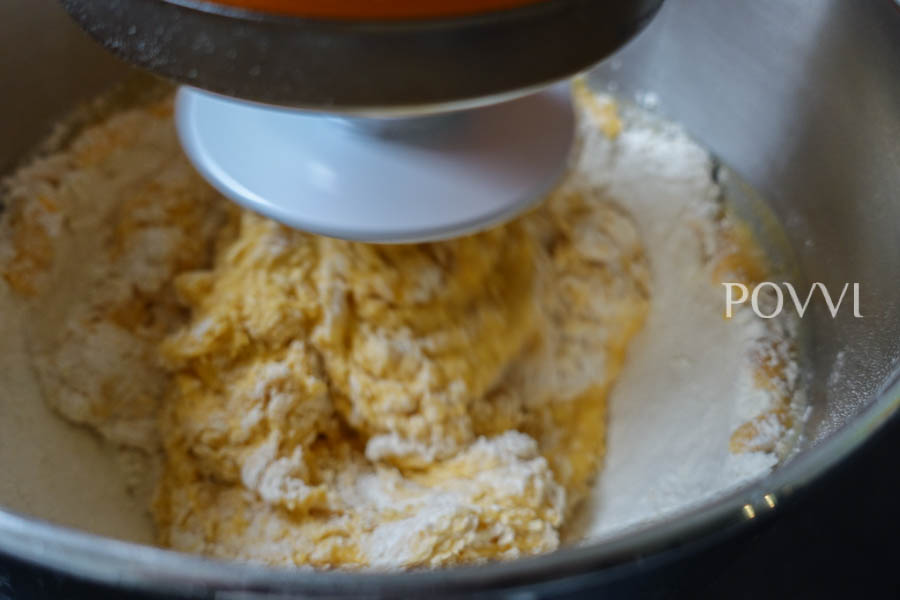
Mix first all dry ingredients and also the wet ones and then put them together and knead in the kitchen machine. Just make sure, the temperature of the mixture will not be higher than 40˚C, otherwise yeast may die. After 10 – 15 minutes, knead the dough until it becomes smooth and elastic. The dough is tacky but not sticky.
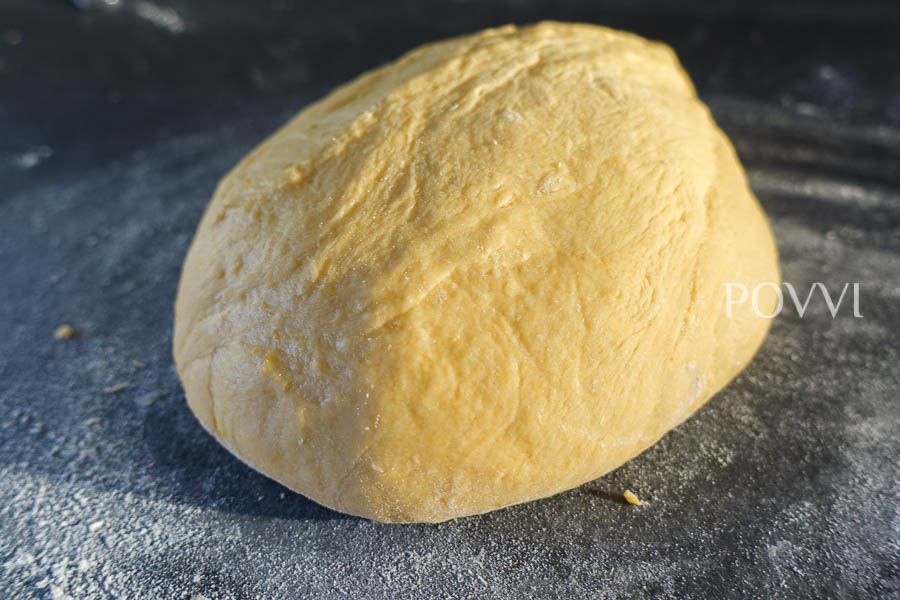
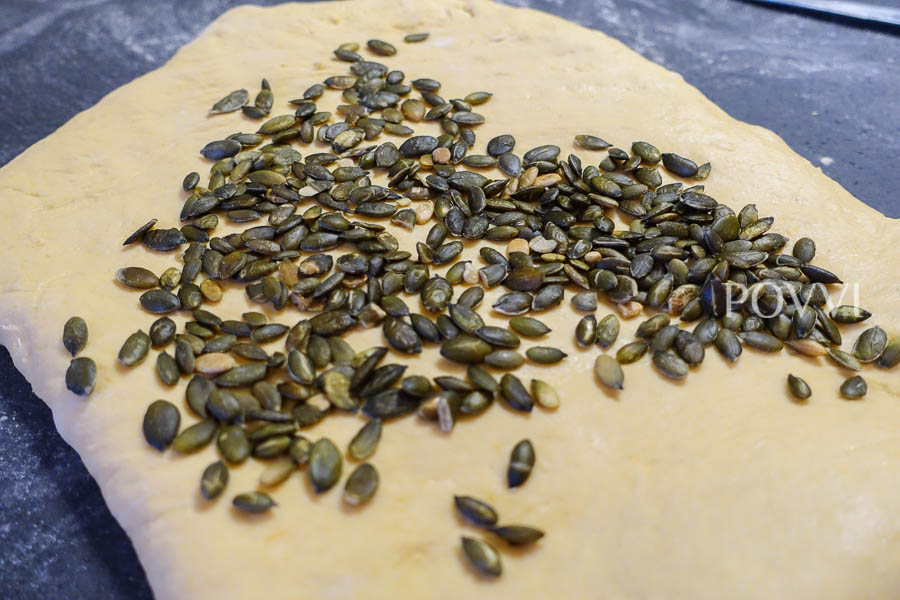
Grease the proofing bowl with a little oil. Place the dough inside the bowl and turn it around so that it is covered with oil (to prevent the dough from drying out). Cover the bowl with a damp towel. Proof at room temperature until the dough doubles in size. Proofing time will be between 45 – 70 minutes, dough will proof faster at warmer temperatures. After the first proof, take the dough out of the bowl and knead for another 2 – 3 minutes until the dough is smooth. Knead nowalso the pumpkinseeds into dough.
Shape the dough into ball. Prepare a baking tray that is lined with parchment paper.
Use a long thread to tie around the dough ball in a way that the ball is divided into 8 parts. Do not tie the ball too tightly as it will continue to rise a lot more during the second proofing and baking. This method gives very realistic looking pumpkin bread. However, this method is much more time consuming as the tying and un-tying process may get tedious.
After you finish shaping the dough, cover it by placing another big tray or big container on top. I covered it with a pot only. Proof for the second time until the dough rises to 75%.
Preheat the oven at 356˚F (You can start this when the dough rises to 70%).
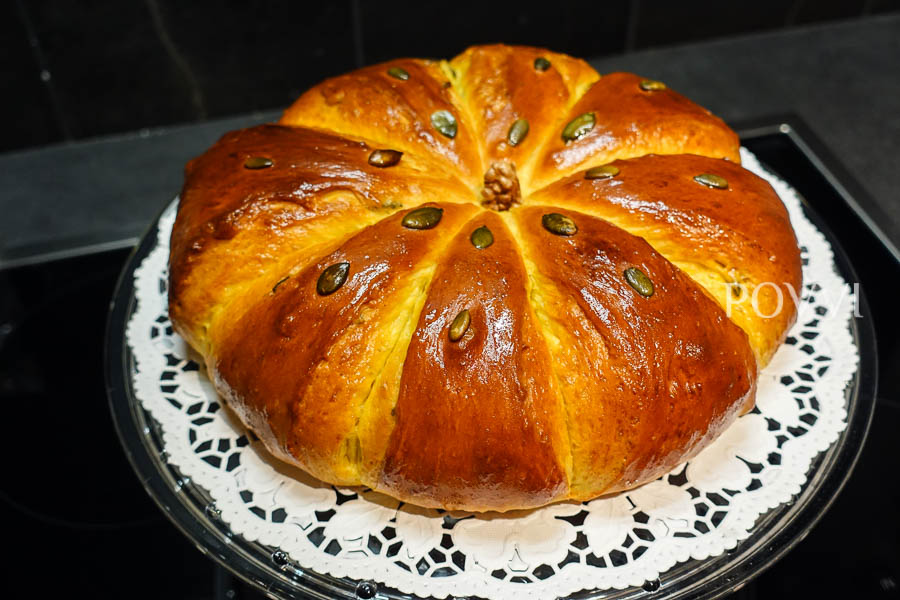
Use the remaining 25 gram of beaten egg and mix it with 5 ml (1 tsp) water and let it pass through a sieve. Using a small brush, gently brush a thin layer of egg wash onto the surface of the dough. This will help the baked bread to have a shiny, golden brown crust. Then, use the tip of a chopstick or something similar to make a small hole in the centre of the dough. This is where you will be putting the stem on.
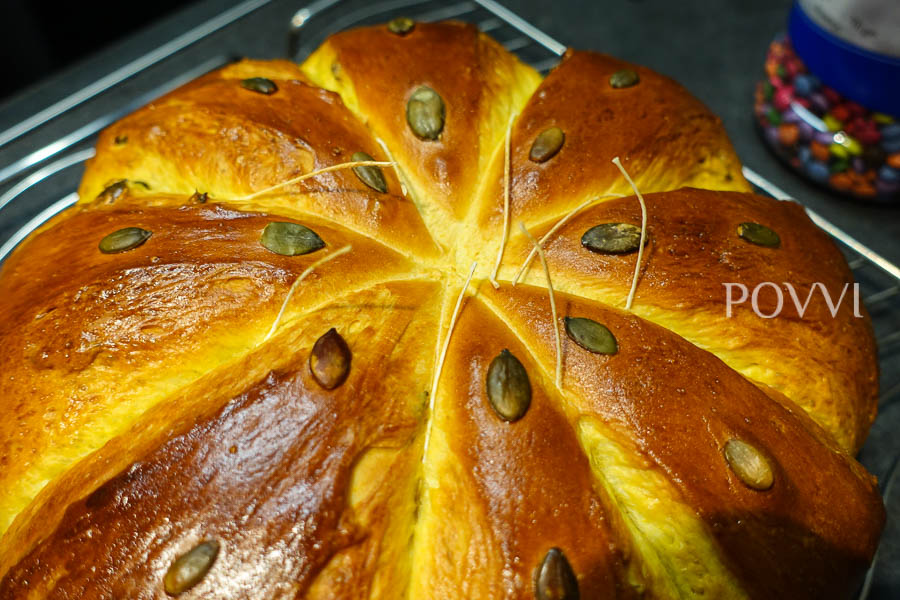
Bake at 175 – 180˚C (347 – 356˚F) in 25 – 35 minutes until becomes golden brown. Don’t bake for too long or the bread will dry out. After about 10-17 minutes (depending form the size of the pumpkins), rotate the tray so that the buns are evenly baked.
Remove the bread from the oven. When still hot, brush a thin layer of whipping cream or butter onto the surface; this helps to create an even shinier surface and also to give more aroma to the bread.
Let them cool down and enjoy!


Leave a Reply